Please visit my new, improved website!

>> Wildermuth Creative Portraits <<

  • My Home, My Garden.

    Miss Me?

    February
    18
    2009

    squirrel photo portrait Leanne Wildermuth
    In a burst of spring fever (Catybug DID see a robin yesterday), I filled my feeders. I admit, I was lax over the fall and winter months. We put food out occasionally but not religiously as we usually do. Sparrows can empty a feeder in a day – so I made sure to put up more black sunflower and safflower than mixed seed. So far, the feeders have lasted a little over a week.

    I wondered how long it would take before word got out that the food was back. Within 10 minutes, we had a pair of nuthatches. Within a day or two, the Cardinals were back. The red bellied woodpecker – then the downy woodpeckers. Yesterday, we had chickadees, finches and – of course – squirrels.

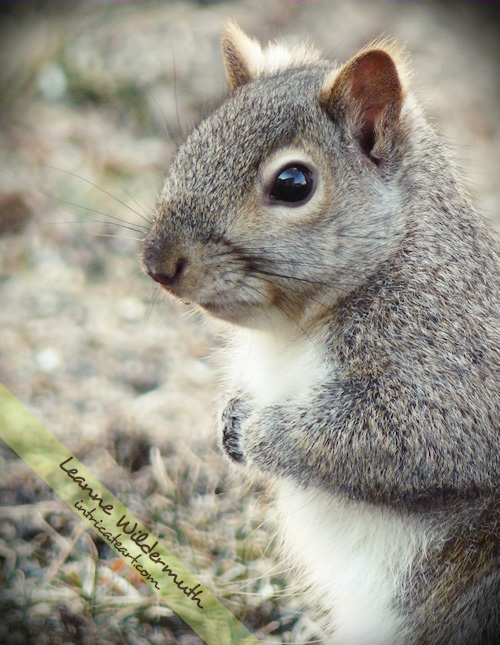
    I’ve missed seeing and hearing all of these beautiful creatures around my studio windows! I photographed this squirrel through my studio window. Still pretty timid – they’ll get used to me and my camera before long.

    What choice do they have?

    Don’t forget to enter to win a custom portrait in my weekly giveaway!!

    Morning, Love

    February
    12
    2009

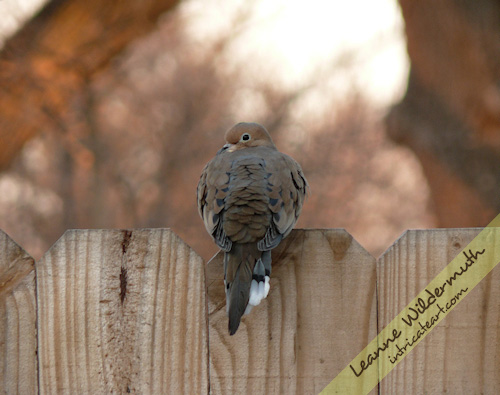
    Morning, Love - Mourning Dove photo by Leanne Wildermuth

    It is so good to see you!

    Fanning the Flames

    February
    10
    2009

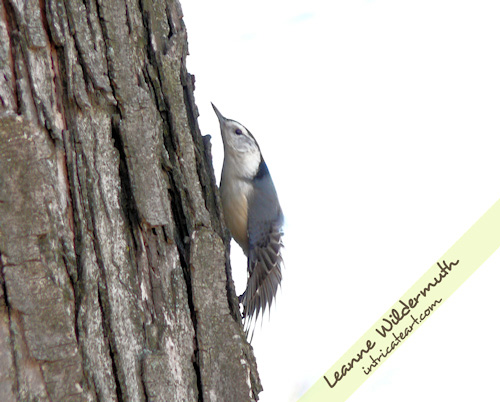
    nuthatch photo by Leanne Wildermuth

    The bird feeders are full – and within 10 minutes of filling them, a pair of nuthatches were all over my trees. I love how he’s stretching out his wing, as if to say “it’s been a long winter – I’m ready.”

    Yep, me too!!

    Lovely and Huge Amaryllis

    January
    29
    2009

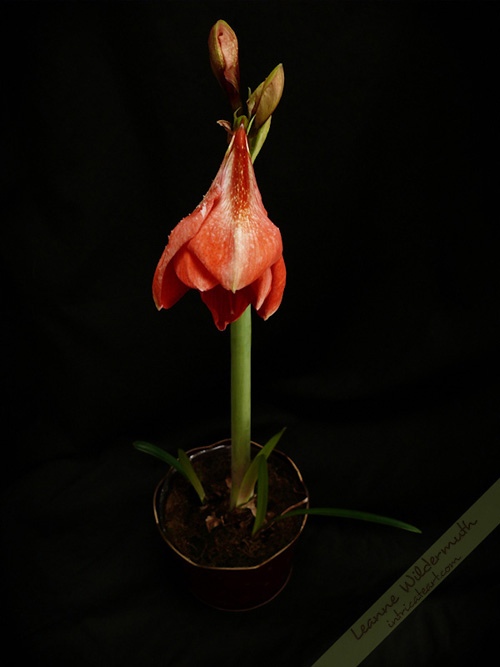
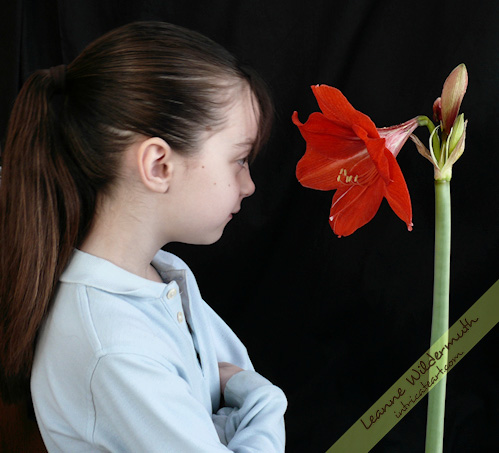
    Amaryllis in bloom photo by Leanne Wildermuth

    I photographed my Amaryllis the other day to show Lisa, as she gifted the bulb to me last Christmas. I was excited that I hadn’t killed it off since it requires such special care up here in the Midwest! I brought it in last fall and thought surely it was a goner, until one morning I woke up and saw an inch of growth overnight.

    It’s been growing a couple of inches a day ever since! It stands 28 inches tall now – and since the first bloom is now wide open, I had to snap a shot of how big it is.

    Large Amaryllis in bloom photo by Leanne Wildermuth

    You wouldn’t know by looking at it that it’s as big as a small child’s head – but there you have it! Chickeymonkey is pretty mad that this flower is nearly as big as she is – it took her seven years to get this big. haha!

    It’s a beautiful flower, and with the new growth at the base I think I’ll be transplanting to a larger pot this year as it seems it’s going to need it.

    Aaaah. Just a touch of color against all of this white snow. Can’t wait for Spring!!

    How To Make Photo Dough Ornaments

    December
    23
    2008

    dough ornaments how to recipe by Leanne Wildermuth
    Every year (since 2001), I’ve made these beautiful dough ornaments for our Christmas tree. This year I want to share with you my whole process, in case you’d like a crafty project or gift idea. It really is an any occasion craft, you can use different shapes, cutouts, themes and decorations to make it suit whatever you have going on. It’s a wonderful and sweet handmade gift!

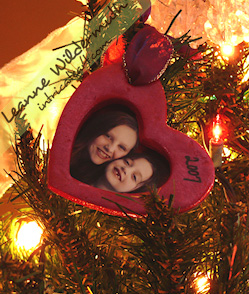
    The first part of the project (which I failed to take photos of) involves the dough ornament itself. First, you’ll need to pick out your shape. I have nested heart cookie cutters, so I chose the biggest one, and the second to smallest so that I have enough room for the girls photo. (I take the girls Christmas photos myself in my studio the day before.) Here’s my ornament shape:
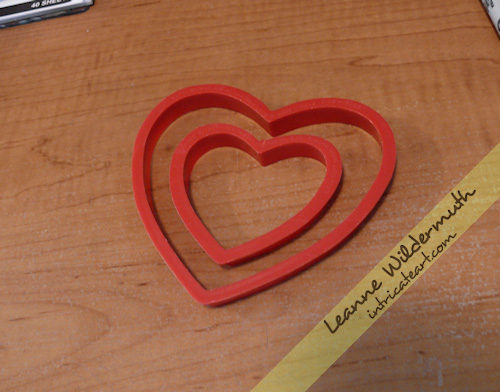
    heart shaped cookie cutter
    The next task is making the dough – which is super easy. In a large bowl, combine 2 cups flour, 1 cup salt – and then add in 1 cup of water as you’re kneading the dough. This will make enough dough for about 10 of my ornaments, but I double the batch so the girls can make their own ornaments each year, too. Knead the dough really well, so it’s pliable and easy to manage.

    Whatever surface you’re working on, you want to be able to get your dough up easily. Use a flexible cutting board, or wax paper to lift it off the table and peel back away from the back of the ornament. Put a little flour out on the surface and roll your dough to about 1/4″ thickness. If it’s cracking, you can dust some flour on it and then spray with a mist of water from a spray bottle, smoothing over with your hand.

    Create your shapes using your cutter, and transfer them to an ungreased cookie sheet. To make holes for ribbons or hanging wire, just pop a hole into the shape using a straw, not too close to the edge so the dough doesn’t crack or break over time.

    Before you bake them, use a toothpick to go around the edges and clean off any jagged dough edges. Once these dry, they take a bit of work to file off – so do as much beforehand as you can.

    Bake your ornaments at 200 degrees for 2 hours. When they’re done, let them cool to the touch. Then, if you need to, use a nail file/buffer to clean off any jagged pieces from around the edges.

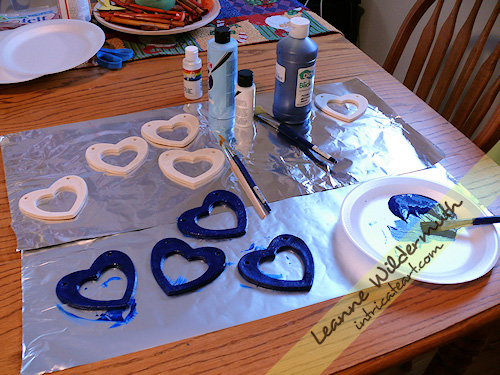
    Now, you can prep your creative surface for painting! I use aluminum foil or wax paper to make it easy to move them around as they’re drying.
    dough ornaments how to recipe by Leanne Wildermuth
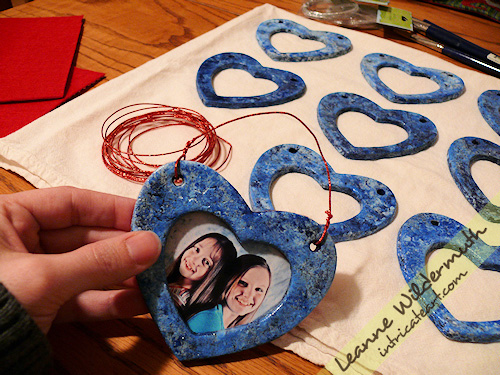
    I’ve got my base color, dark blue, on a few of my ornaments already. The design is different each year, and usually I know how I’m going to paint them and have all of my materials/paints/backing/wire purchased before I start my project. Since my photo backdrop is a mottled blue, I decided to follow it through to the ornament. It’s also flecked with red, so I chose a red self-adhesive felt backing paper and red decorative wire.
    dough ornaments how to recipe by Leanne Wildermuth
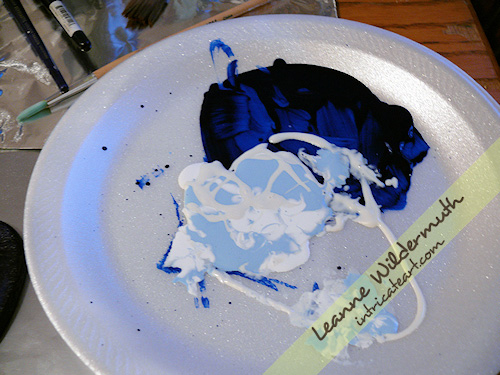
    Here’s my palette. I’ve got the dark blue drying, and I’m going to “sponge” on a light blue, white and pearly glaze. These are all acrylic paints you can pick up at Hobby Lobby for a couple of bucks. You really don’t need much, the small bottles are perfect. I put the paint on top of the other in a crazy pattern so it transfers to the ornament randomly. I paint through the holes and around to the back a little bit, just in case any edging shows through.

    Prepare to get messy! I just wadded up a paper towel for this part, just dab it onto the plate and then onto the ornaments.
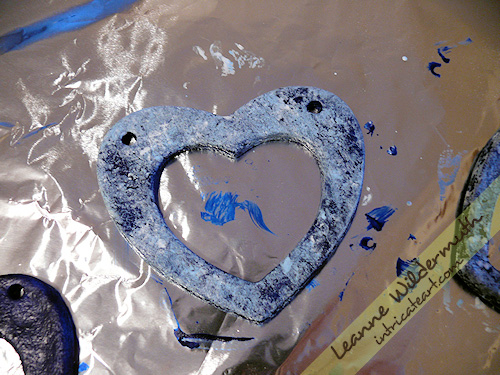
    dough ornaments how to recipe by Leanne Wildermuth
    Here’s how they look after the first coat. It’s a bit too light, so I let it dry (acrylic takes a minute or two to dry) and add another coat of the dark blue over the top.
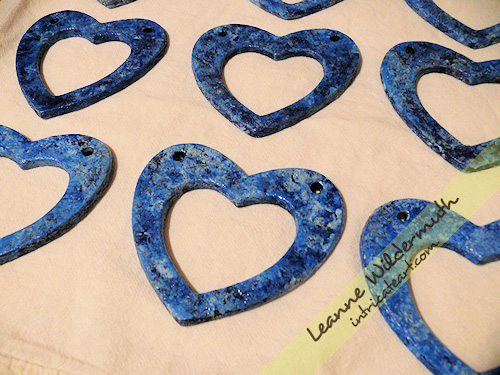
    dough ornaments how to recipe by Leanne Wildermuth
    Once I finished blotting them and allowed the paint to dry, I went over the ornaments with a coat of Mod Podge to give it a really glossy lustre. This seals the dough and helps it last longer, too!
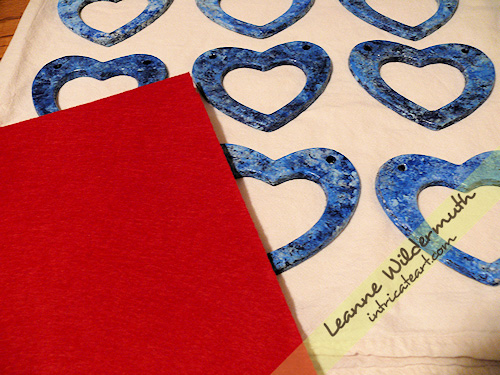
    dough ornaments how to recipe by Leanne Wildermuth
    Next, I get the self-adhesive felt out. (I found mine at Hobby Lobby in the crafting area with all the felting tools.) I wish I had found this stuff years ago!! It made the whole process wonderful and opens up a variety of ways that these ornaments can be made and used.
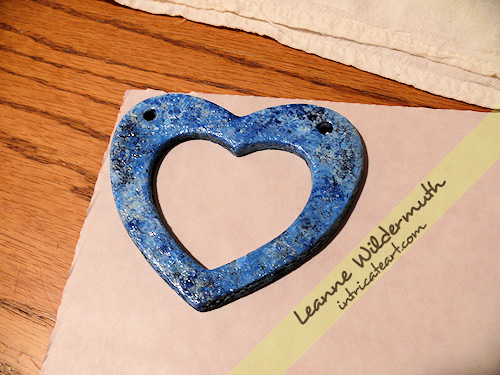
    dough ornaments how to recipe by Leanne Wildermuth
    Flip the felt over, and trace the outside of your ornament and mark the holes. Just do one at a time, because they do tend to all come out different based on how they cook, if they’re slightly misshapen in the transfer to the cookie sheet, etc.
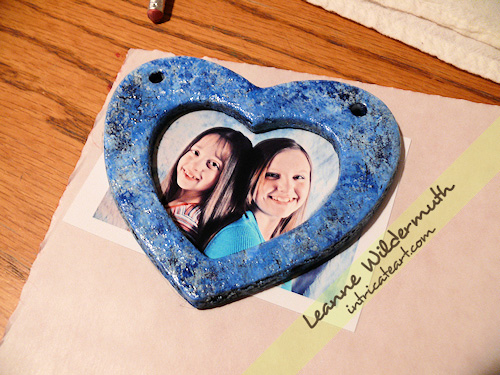
    dough ornaments how to recipe by Leanne Wildermuth
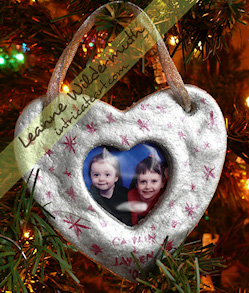
    I’ve printed the girls photos and sized them so that they’ll fit perfectly inside my little “window”. I set the photo under the opening and trace the opening onto the photo, then cut around it giving about 1/4″ overlap.
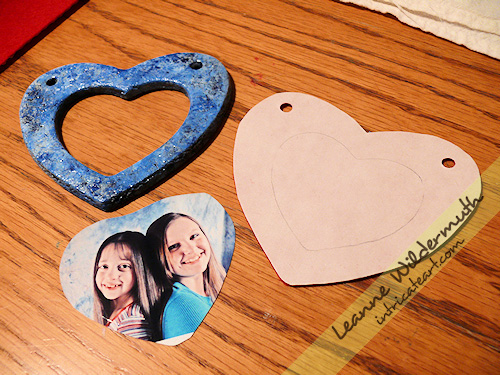
    dough ornaments how to recipe by Leanne Wildermuth
    I cut out the felt, used a hole-puncher for the holes, and have everything ready to assemble the ornament.
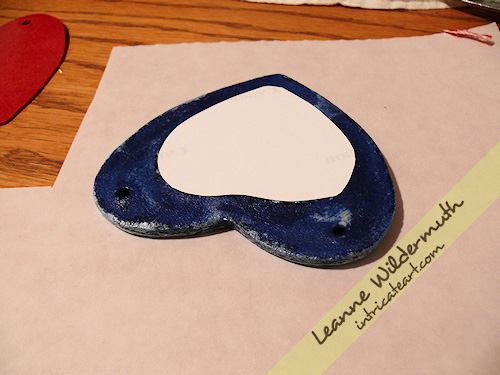
    dough ornaments how to recipe by Leanne Wildermuth
    Flip the ornament over, and align the photo to the backside, lifting to make sure it’s in position. Then just peel and stick your felt to the back, carefully lining it up to get it into position before pressing it down firmly onto the ornament.
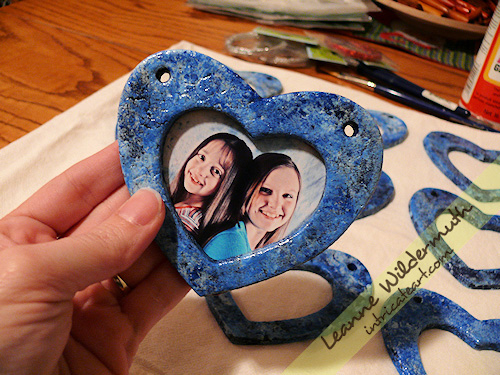
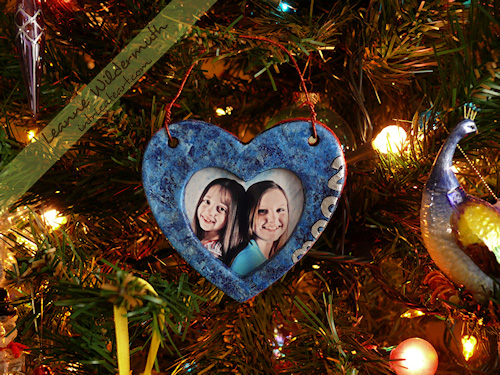
    photo dough ornament by Leanne Wildermuth
    Here’s the front side of the ornament.
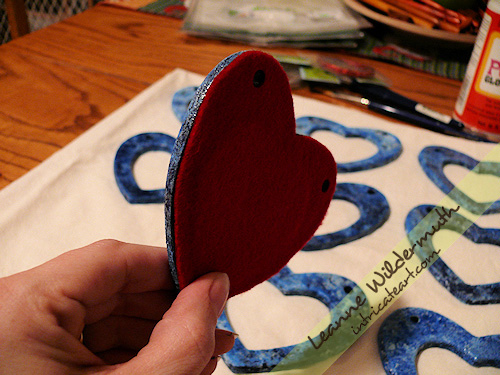
    photo dough ornaments by Leanne Wildermuth

    Here’s the backside, felted.

    photo dough ornaments by Leanne Wildermuth

    Now I just take my wire (or ribbon, or hook, whatever you’re going to use) and wind it through the holes and around itself. I like to date my ornaments, this year I dated the back for everyone else and designed the front date of ours using a silver metallic sharpie, outlining in a black sharpie. Colored sharpies work GREAT for designing and decorating the fronts of these dough ornaments!
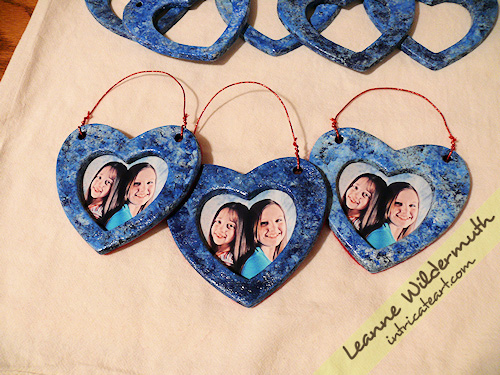
    photo dough ornaments by Leanne Wildermuth
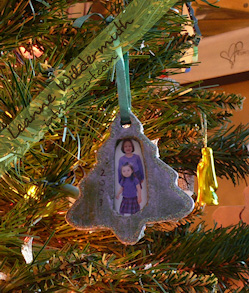
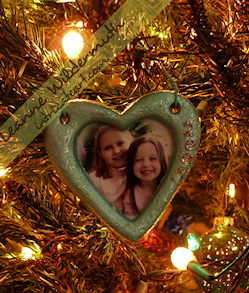
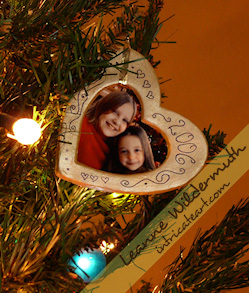
    Here are a few of them all assembled, aren’t they sweet? Once they’re all done, I slip mine into a sandwich baggie do they don’t get scratched or damaged. I store years worth of these in a heart shaped container, each individually wrapped, and they all still look wonderful!
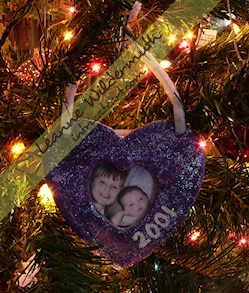
    2001orn 2002orn
    2003orn 2005orn
    2006orn 2007orn
    dough ornaments how to recipe by Leanne Wildermuth
    Merry Christmas, everyone!!

    Get the latest updates – Subscribe by Email!
    Cranberry Cheese Bars

    November
    24
    2008

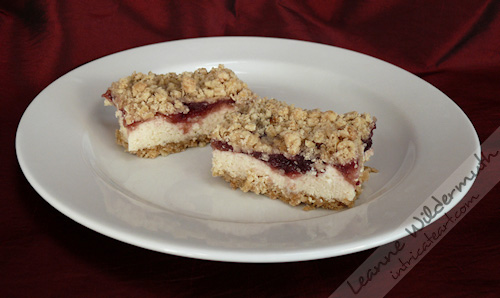
    cranberry cheese bars photo by Leanne Wildermuth

    (mostly fat free.)

    2 c. unsifted flour
    1 1/2 c. oats
    3/4 c. firmly packed brown sugar
    1 tbsp. brown sugar (for cranberry mixture)
    1 c. butter (softened to room temp)
    1 – 8oz. pkg fat free cream cheese, softened
    1 – 14oz. can fat free sweetened condensed milk
    1/4 c. Lemon Juice (from concentrate)
    2 tbsp. cornstarch
    1 – 16 oz. can whole berry cranberry sauce

    Preheat oven to 350.

    In large bowl, combine flour, oats, 3/4 c. sugar and butter – mix until crumbly.

    Reserve 1-1/2 c. crumb mixture for topping.

    Press remaining crumb mixture firmly on bottom of greased (cooking spray) 13×9 inch baking pan. Bake 15 minutes.

    Meanwhile, in a small bowl, beat cream cheese until fluffy. Beat in sweetened condensed milk until smooth; stir in lemon juice.

    In another small bowl, combine 1 tbsp. brown sugar and cornstarch. Stir in cranberry sauce. Mix well.

    Spread cheese mixture evenly over crust. Spread Cranberry mixture over the cheese layer, and sprinkle remaining crumb mixture on top. Bake 40-50 minutes or until golden. Cool, chill. Best served chilled.

    Praying Mantis

    October
    6
    2008

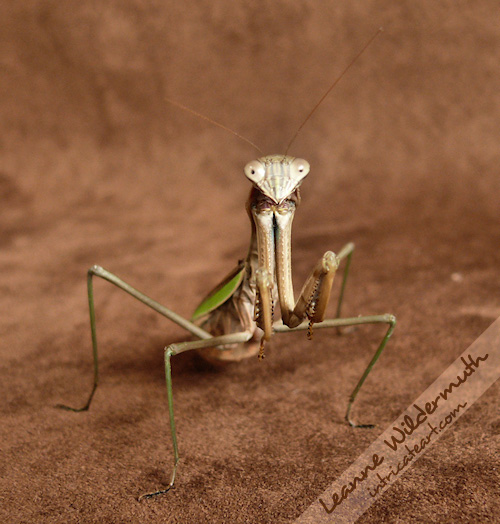
    praying mantis copyright leanne wildermuth

    I had to share this – Hubby captured a Praying Mantis for Catybug’s collection, so I had a photo session with him this morning. What an incredible little creature!

    I have to tell you a secret, though. I wore my gardening gloves when I was handling him – and when he started heading toward my bare arm, I squealed and got the heebie jeebies. You would have too, man. Those things eat meat. :shudders:

    It’s been several days since I’ve updated – I’m still working on the new site and it’s coming along so nicely. I do have a portrait I’ve started too and I’m trying to hold off on posting until I’ve got everything complete and switched over. I hope to launch by Wednesday (or sooner), so keep your eyes peeled this week for a major change!!

    I’m behind on my blog visiting, too! Hope you’re doing well, do leave a note and let me know what you’re up to!

    Pretty, Pretty, and Oooooh, neat.

    September
    19
    2008

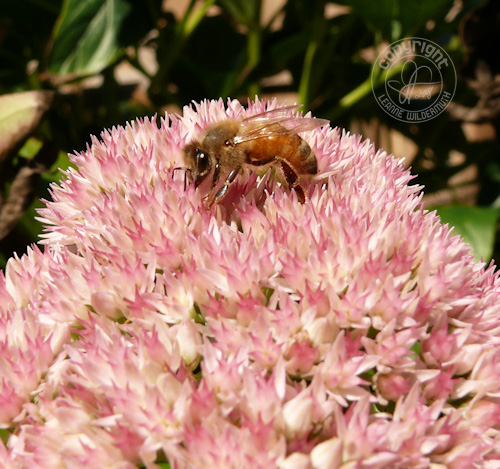
    stonecrop sedum honeybee leanne wildermuth

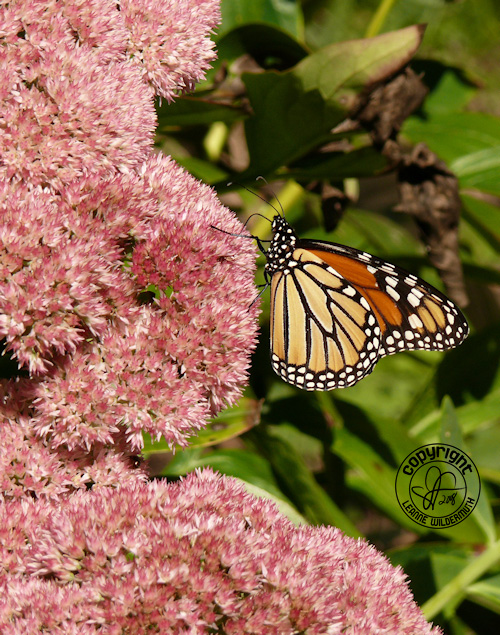
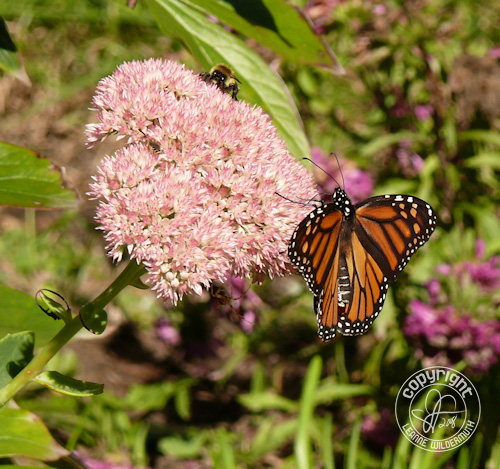
    If you’re looking for a plant that will attract bumblebees, honey bees and butterflies – this one does it all. My favorite aunt gave me a bit of Sedum from her landscape in the Spring of 2007, and it has quadrupled since I brought it home and put it in the yard. I was surprised last fall to see so many honey bees working on this plant, and this fall it’s gotten even busier! I’ll be splitting this in a couple of weeks and spreading them out more with my Bee Balm.

    stonecrop sedum monarch butterfly leanne wildermuth

    I am not sure if my butterfly bush has brought the Monarchs to my yard and the Sedum has kept them coming back, but it sure is a beautiful sight to see three of them sitting atop the Sedum. I loved this shot, the dense blushing pink blooms bordering that gorgeous butterfly.

    stonecrop sedum monarch butterfly leanne wildermuth

    Usually, when Monarchs have landed, they keep their wings tightly closed, and they open and close like a trap door. I managed to capture this one with its wings open, so this is a rare shot for me and I’m loving the paper thin dimension!

    illinois farm horizon sunset leanne wildermuth

    It has been a really busy week, to say the least. I’m waiting for a cake to cool right now because this afternoon I’ll be decorating this Monkey cake for my Chickeymonkey’s 7th birthday party tomorrow. I’ve driven hundreds of miles, going to Catybug’s volleyball game (an away game, 150 miles round trip), spent a day with a dear old friend from High School that I haven’t seen in –ummm– several years (here we are), mowed the lawn, went to another Volleyball game lastnight (we won!) and finished up a blog design for EW. All since my last post on Tuesday!

    illinois september low moon 2008 orange leanne wildermuth

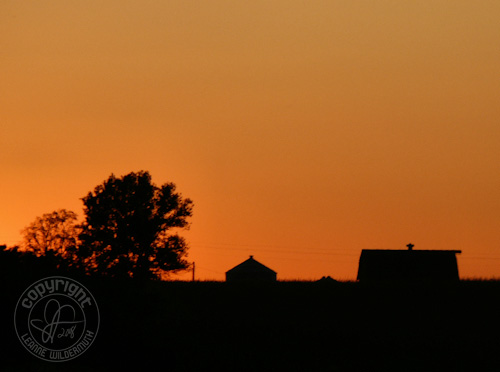
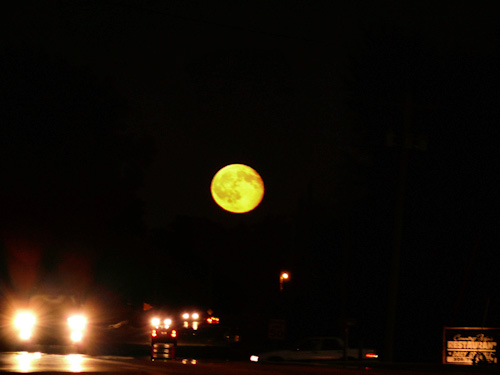
    The sunset was beautiful on Tuesday night, I snapped the farm silhouette on the way home, driving on the freeway. When we got to our exit, the sun had completely set and the moon popped up on the horizon, big, bold, and this really wild yellow-orange color. I left the cars & headlights in the photo so you could get a perspective on how low it was and how bright and oddly colored! Is this our harvest moon? I recall it being much more orange. Anyone else catch a glimpse of the moon this week?

    The timer just went off, so it’s time for me to whip up a batch of frosting!

    Reeelaaaaax. It’s Friday.

    September
    12
    2008

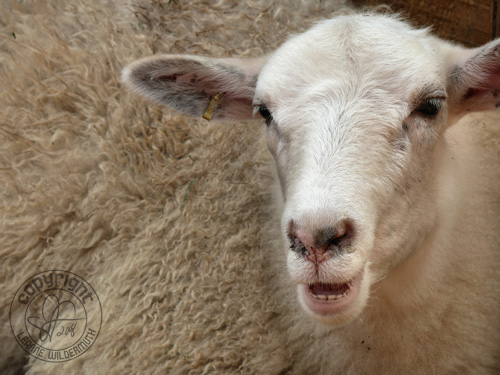
    sheep baa photo leanne wildermuth
    Sheep says: Mmmmeh.


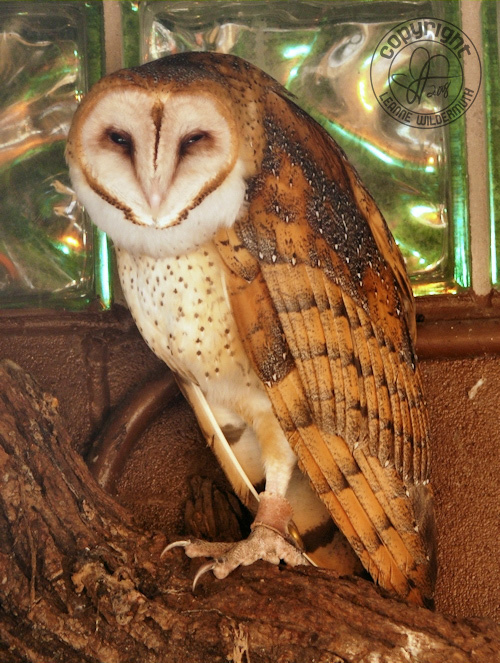
    barn owl trance sleepy leanne wildermuth
    Barn Owl says: Look eento my eyeeees. You are getting verrrry verrrry sleepy.


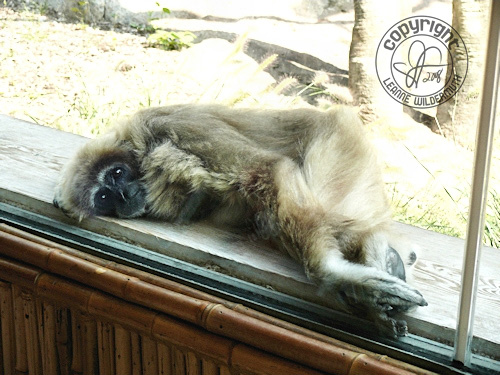
    gibbon monkey relaxing leanne wildermuth
    Gibbon Monkey says: unh. yeah, looking… *yawn*stretch*flops down*

     
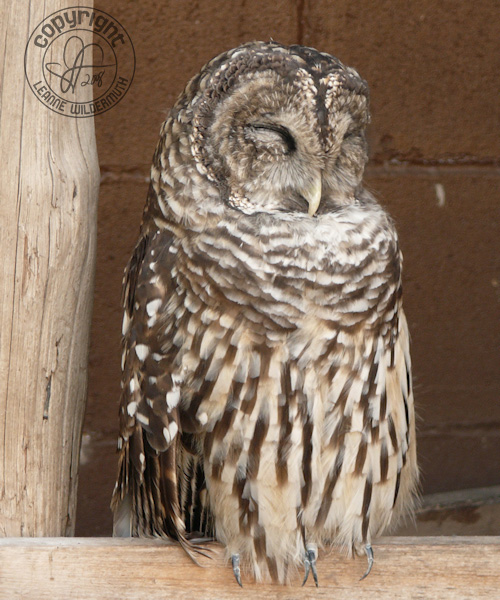
    barred owl poof bird sleeping leanne wildermuth
    Barred Owl says: ZzzzZZZ wootWOOOOooooo ZzzzzZZZZ

     
    TGIF!


    {Latest Projects}