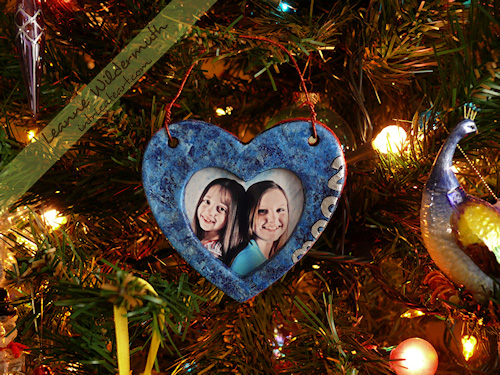
Every year (since 2001), I’ve made these beautiful dough ornaments for our Christmas tree. This year I want to share with you my whole process, in case you’d like a crafty project or gift idea. It really is an any occasion craft, you can use different shapes, cutouts, themes and decorations to make it suit whatever you have going on. It’s a wonderful and sweet handmade gift!
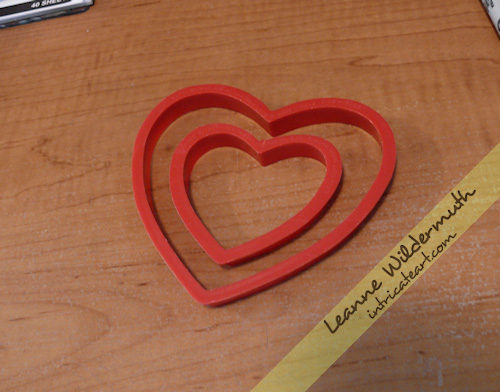
The first part of the project (which I failed to take photos of) involves the dough ornament itself. First, you’ll need to pick out your shape. I have nested heart cookie cutters, so I chose the biggest one, and the second to smallest so that I have enough room for the girls photo. (I take the girls Christmas photos myself in my studio the day before.) Here’s my ornament shape:
The next task is making the dough – which is super easy. In a large bowl, combine 2 cups flour, 1 cup salt – and then add in 1 cup of water as you’re kneading the dough. This will make enough dough for about 10 of my ornaments, but I double the batch so the girls can make their own ornaments each year, too. Knead the dough really well, so it’s pliable and easy to manage.
Whatever surface you’re working on, you want to be able to get your dough up easily. Use a flexible cutting board, or wax paper to lift it off the table and peel back away from the back of the ornament. Put a little flour out on the surface and roll your dough to about 1/4″ thickness. If it’s cracking, you can dust some flour on it and then spray with a mist of water from a spray bottle, smoothing over with your hand.
Create your shapes using your cutter, and transfer them to an ungreased cookie sheet. To make holes for ribbons or hanging wire, just pop a hole into the shape using a straw, not too close to the edge so the dough doesn’t crack or break over time.
Before you bake them, use a toothpick to go around the edges and clean off any jagged dough edges. Once these dry, they take a bit of work to file off – so do as much beforehand as you can.
Bake your ornaments at 200 degrees for 2 hours. When they’re done, let them cool to the touch. Then, if you need to, use a nail file/buffer to clean off any jagged pieces from around the edges.
Now, you can prep your creative surface for painting! I use aluminum foil or wax paper to make it easy to move them around as they’re drying.
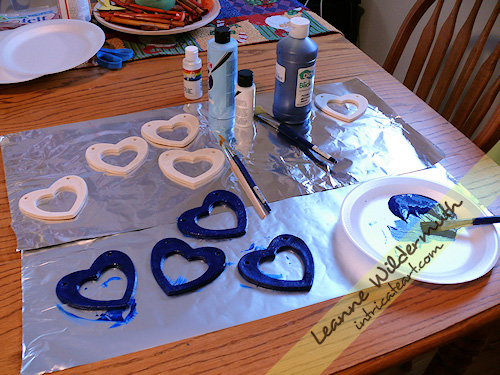
I’ve got my base color, dark blue, on a few of my ornaments already. The design is different each year, and usually I know how I’m going to paint them and have all of my materials/paints/backing/wire purchased before I start my project. Since my photo backdrop is a mottled blue, I decided to follow it through to the ornament. It’s also flecked with red, so I chose a red self-adhesive felt backing paper and red decorative wire.
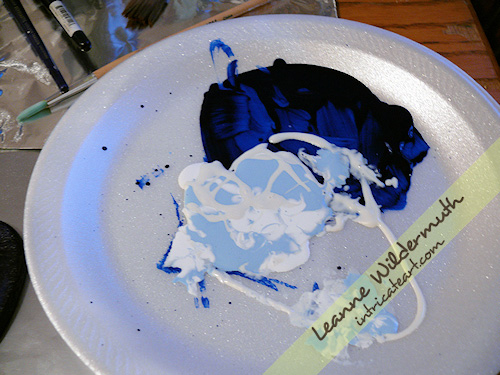
Here’s my palette. I’ve got the dark blue drying, and I’m going to “sponge” on a light blue, white and pearly glaze. These are all acrylic paints you can pick up at Hobby Lobby for a couple of bucks. You really don’t need much, the small bottles are perfect. I put the paint on top of the other in a crazy pattern so it transfers to the ornament randomly. I paint through the holes and around to the back a little bit, just in case any edging shows through.
Prepare to get messy! I just wadded up a paper towel for this part, just dab it onto the plate and then onto the ornaments.
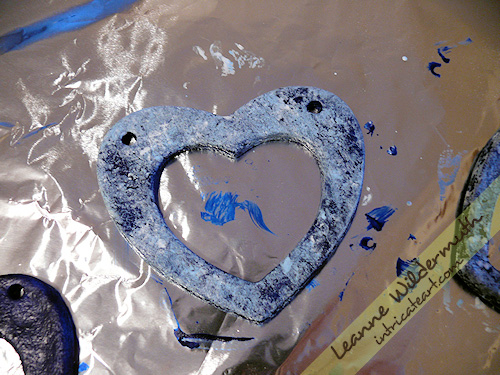
Here’s how they look after the first coat. It’s a bit too light, so I let it dry (acrylic takes a minute or two to dry) and add another coat of the dark blue over the top.
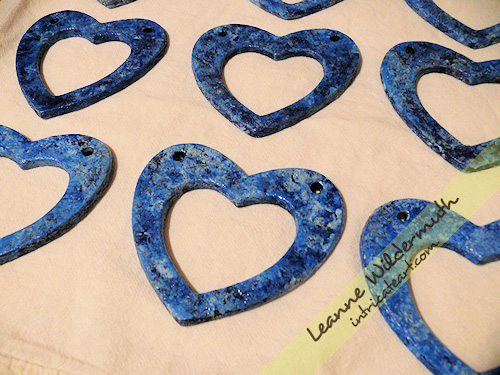
Once I finished blotting them and allowed the paint to dry, I went over the ornaments with a coat of
Mod Podge to give it a really glossy lustre. This seals the dough and helps it last longer, too!
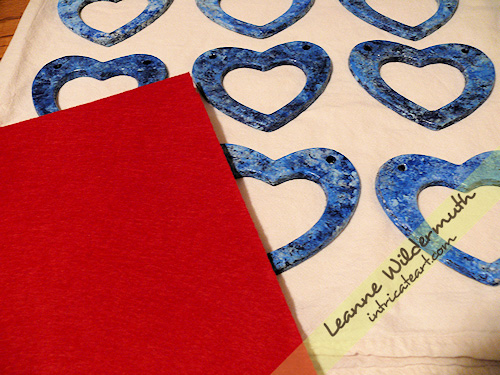
Next, I get the
self-adhesive felt out. (I found mine at Hobby Lobby in the crafting area with all the felting tools.) I wish I had found this stuff years ago!! It made the whole process wonderful and opens up a variety of ways that these ornaments can be made and used.
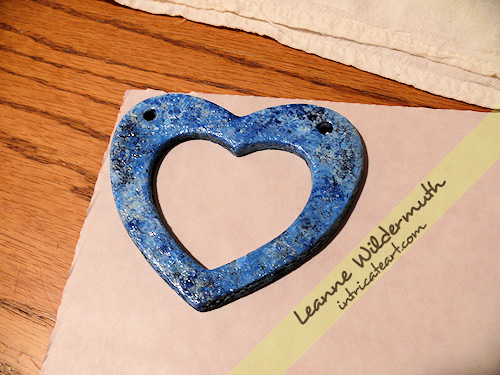
Flip the felt over, and trace the outside of your ornament and mark the holes. Just do one at a time, because they do tend to all come out different based on how they cook, if they’re slightly misshapen in the transfer to the cookie sheet, etc.
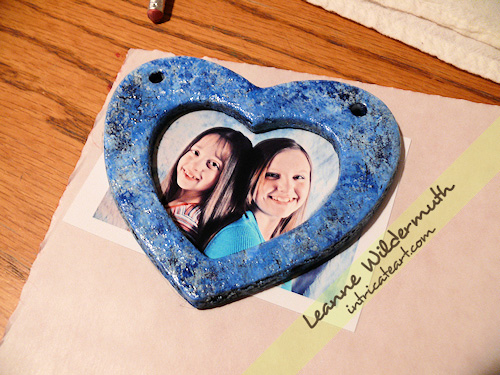
I’ve printed the girls photos and sized them so that they’ll fit perfectly inside my little “window”. I set the photo under the opening and trace the opening onto the photo, then cut around it giving about 1/4″ overlap.
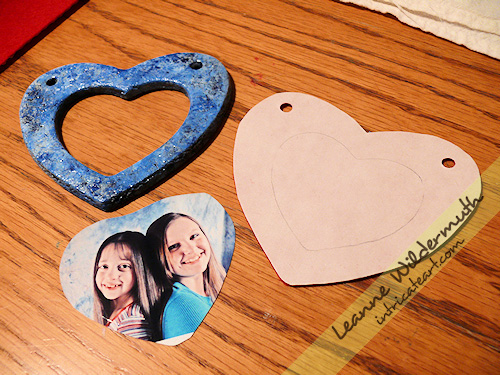
I cut out the felt, used a hole-puncher for the holes, and have everything ready to assemble the ornament.
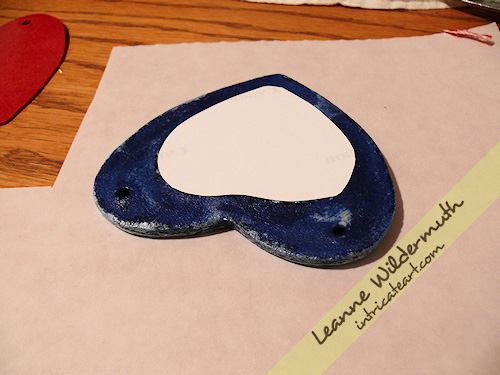
Flip the ornament over, and align the photo to the backside, lifting to make sure it’s in position. Then just peel and stick your felt to the back, carefully lining it up to get it into position before pressing it down firmly onto the ornament.
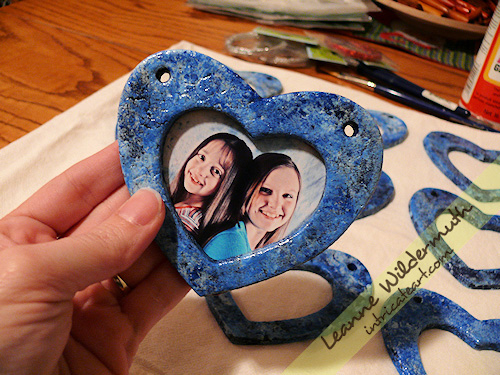
Here’s the front side of the ornament.
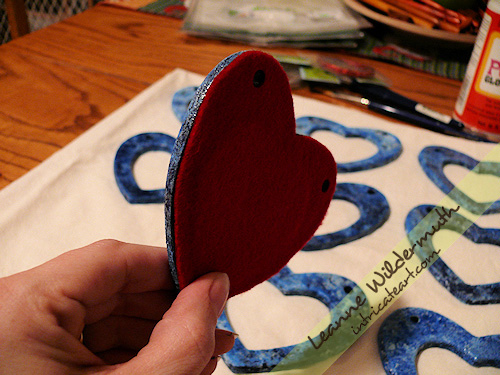
Here’s the backside, felted.
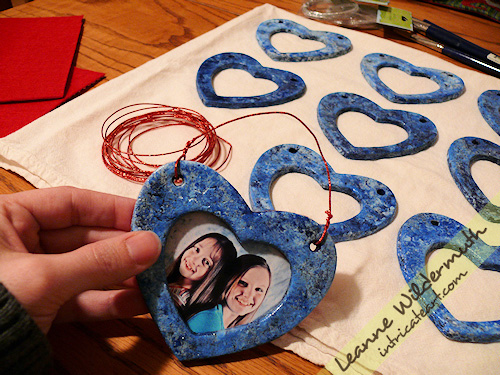
Now I just take my wire (or ribbon, or hook, whatever you’re going to use) and wind it through the holes and around itself. I like to date my ornaments, this year I dated the back for everyone else and designed the front date of ours using a silver metallic sharpie, outlining in a black sharpie. Colored sharpies work GREAT for designing and decorating the fronts of these dough ornaments!
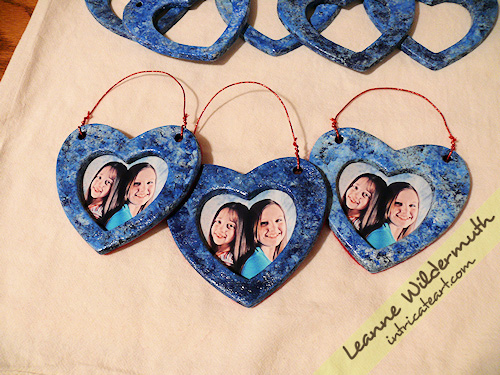
Here are a few of them all assembled, aren’t they sweet? Once they’re all done, I slip mine into a sandwich baggie do they don’t get scratched or damaged. I store years worth of these in a heart shaped container, each individually wrapped, and they all still look wonderful!
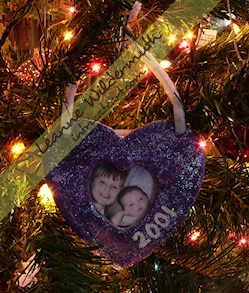
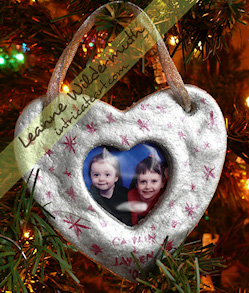
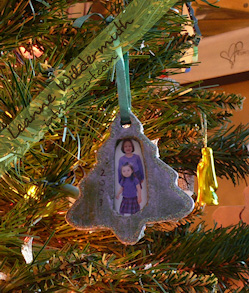
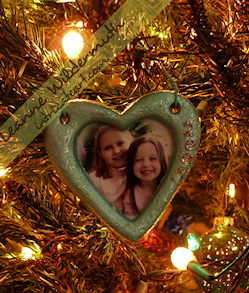
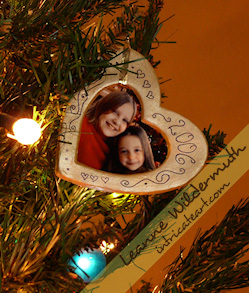
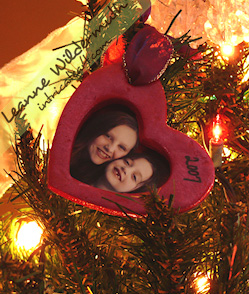

Merry Christmas, everyone!!
Get the latest updates – Subscribe by Email!



{21 Comments}
Leanne,
Thanks for posting that. I was waiting… I love it, love the idea, love the way they look, love the picture, love the process, especially love that you posted it from start to finish… hate that I don’t have more time before Christmas!
Inspiring to see your processes and thrilled that you’re willing to share them.
You should consider photographing the past years ornaments so we can see the girls photos from years past and the ornaments you made to document it! I’d love it since we just recently reconnected and I haven’t seen your girls at all until this year on facebook.
I’m sure that it’s fantastic decorating the tree every year with all of that nostalgia. Merry Christmas!
Becky
Years ago I remember making dough ornaments with Samantha, when she was smaller. I wish I’d thought of the ornament frame back then! Then it occurred to me that I could still do it, and just dig up a series of photos from Christmases past, and make one for each year with the dates on the.
I bookmarked this page to reference later. thanks for the great idea!
What a wonderful idea! Those are so beautiful; little treasures. :yes:
Love it! I’m gonna have to try this next year…I may have to go & get cookie cutters for it though…I have some, but I don’t know if they’re the right size for this.
i’m glad you posted a how-to on this b/c when you were explaining it to me on the phone i was TOTALLY lost. lol :thanku:
Becky – I’ve added photos of all of them to the post – the only year missing is 2004. Christmas that year was not the same since Mark was in Iraq.
Precious and beautiful. You must come to tears when you are putting those on the tree.
Maybe you should make one for 2004 now as someone said in your post. Take a picture from that year of the girls at Christmas and make a new “vintage” 2004 ornament! I could see how that year must have been hard.
Thanks for taking my suggestion!! So excited to see them all!!!
Beck
so nice to see the ornaments through the years! Did you make another set so the girls won’t have to fight over who gets them? 😉
These are fabulous! Thank you so much for sharing this wonderful tutorial with us! I love it!
I made dough ornaments once years ago, it was fun. I love the frame idea, I know I will make some; I wondered what to do with adhesive backed felt. Thanks for the instructions.
Yours are adorable, both the ornaments and the girls
What a great idea! I hope I can remember this for next year!
Great idea and one I think I might have to work on for next year!
Anything that involves crafting has my attention and this one is so very cool. I have some cat and dog shaped cookie cutters along with a bone..and think I can make some very neat things..now that I have the excellent detailed instructions and inspiration from you. Thanks Leanne. Happy Holidays!
Karen
Ooh, those are really neat! Cool idea…
You can pick up cording and make necklaces/pendants, keepsake stones with lettering – there’s a ton of ways you can decorate them and use them as gifts. Just thought I’d throw different ideas out there!!
I didn’t even think about that. I’m really going to have to look into it… Hmmmm, I hope I remember this for next Christmas!
Leanne, Your ornaments are awesome! What a great way to see how much your girls change over the years. Love your paintings!
Tammy
Thank you so much for giving such a wonderful idea of offering lovely gift to someone.
[…] Each year since 2001, when our youngest was born, I’ve handmade these beautiful photo dough ornaments from scratch. Last year, I shared my entire process for those who are interested in the dough recipe and the supplies and materials I use to create these sweet homemade memories. You can find those instructions here. […]
Hello,
I tried this exact recipe however upon following directions for the dough the dough was a little wet for rolling. So what I did was place it on parchment paper and place it in a ziplock bag for over night. Do you think this is okay?
Hi Tiffany – a little flour will dry them enough to roll, and the rest of the moisture bakes out in the oven. Hope you had fun making them!! 🙂
Sorry, comments are now closed.