
I thought I’d show you the entire progress of Josie’s portrait, from start to finish. If you’d like to watch her come to life on canvas, just keep reading! For those who are just learning how to paint fur, this may help you learn my process, and understand the detail and layering involved in achieving better dimension in your own paintings.

First, I sketched Josie onto an 8×8 gallery wrapped canvas.

I choose the background color and work in a nice gradation of the background (with the client’s preferences in mind).
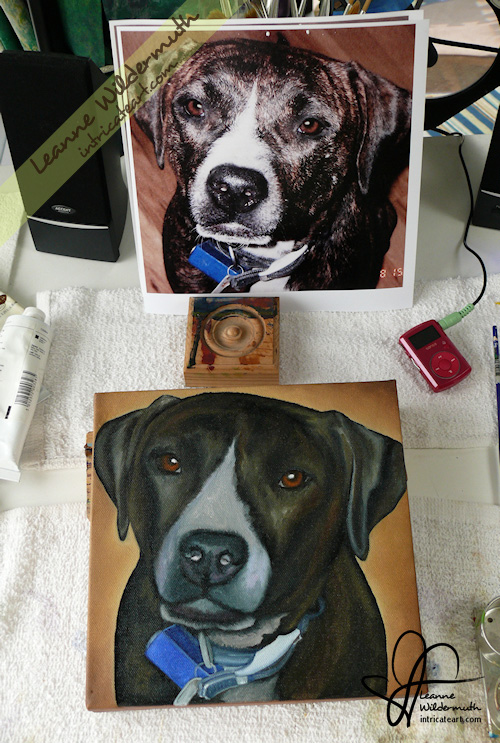
I work in the under painting. This covers the canvas with the darkest shades so I can lay the detail layers on top without worrying about those dark shadows or unpainted canvas blips coming through.
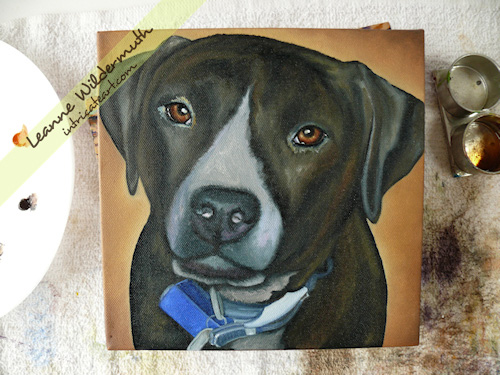
After the under painting is dry, I detail in the eyes.
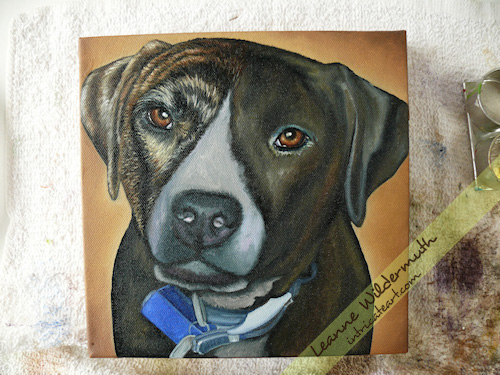
Then move on to left side of the canvas, working left to right and back to front.
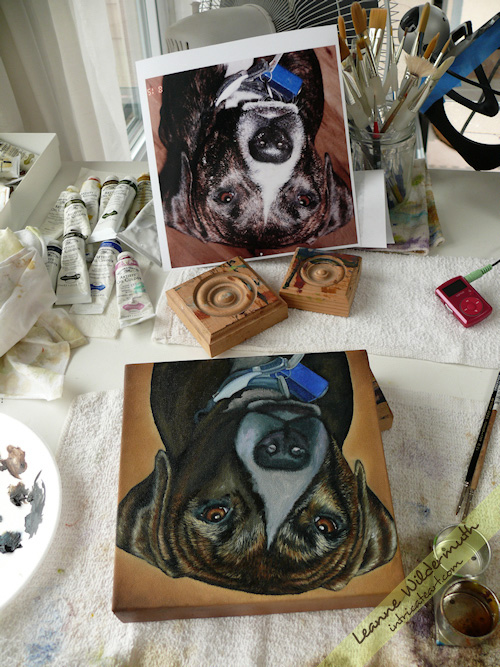
Turning the painting and reference photo actually helps me work from the back of the head forward! It also gives a fresh perspective on fur pattern.
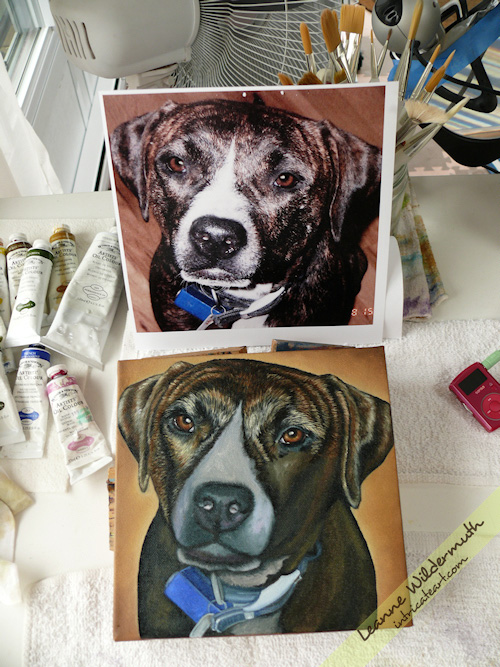
Finishing up the right side forehead and eye area, I’ll move to the neckline and upward into the cheekbone since that fur lays over the top of the neck.
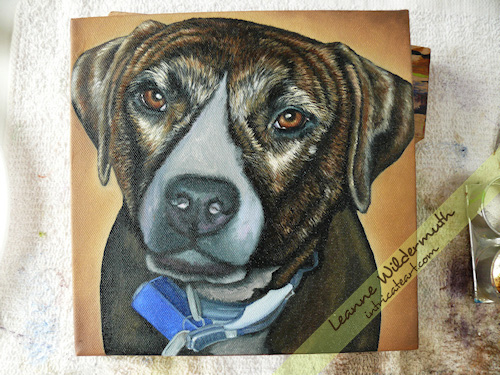
The right side of her head is complete! Now I flip the painting upside down again and work on the top of her snout.
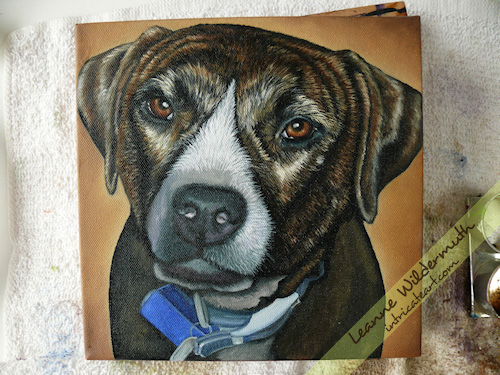
Working down and around, this shows how those small hairs really contrast well against the darker under painting color.
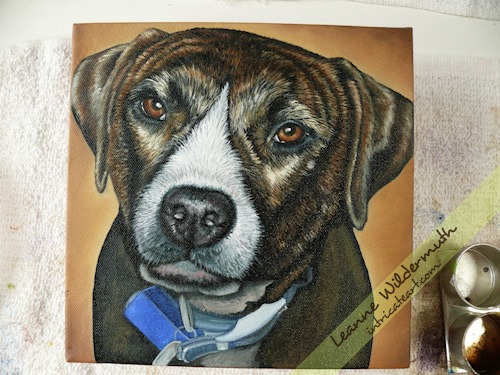
The front of the snout and nose are detailed, but not the bottom of the jaw – and I am also holding off on the lightest whiskering, I always save the whiskers for last since they’re they most forward feature.
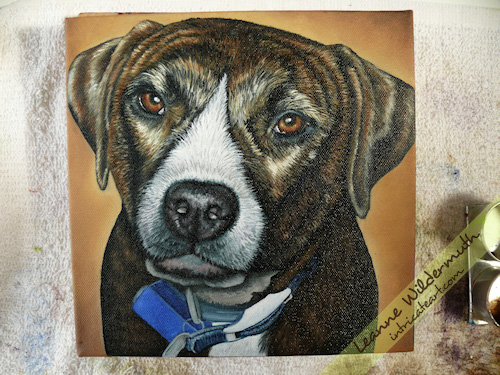
I’m working in the shoulders now, I don’t want to make this fur too pronounced since I want it to appear deeper and further away. (The light reflection is bad, more detail in the next photo!)
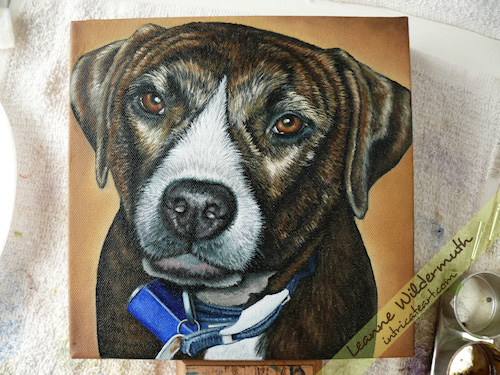
Now I’m working on the collar, detailing the rings, tag and ribbed fabric. I also touched up the fur just beneath the collar, working up and forward now.
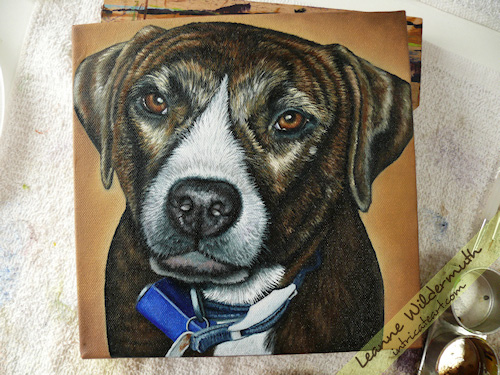
The fur beneath the jaw lays over the top of the collar, so I paint that fur, leaving a nice shadow from the jaw.

This is it – I’ve finished Josie’s jawline, whiskers, detail whiskers on her snout, and signed the piece. The finished painting will take a few days to fully dry, and I’ll varnish with a nice gloss varnish and scan the painting before sending her home to my client.
I hope you’ve enjoyed watching my process!



{10 Comments}
Fantastic. You know how much I love the process!
WOW. That is really neat. Thanks for taking the time to show the process.
Wow. As always, I’m amazed and awed. :tick: :thumbsup:
Another well done :thumbsup:
A wonderful tribute to a beautiful dog, and thank you Leanne for sharing your skill with us :thanku:
Thank you so much, Leanne! Seeing your full process was wonderful, and I know it will help many prospective artists, including me.
Annie
Amazing work on this. Strangely enough, I really love the background. It makes the entire painting seem to glow! Love it!
I especially like that you’ve shown the process. It’s always nice to see into the way others compile a piece of art.
[…] Click here to view the entire portrait of Josie from start to finish, and watch her portrait come to life. « Previous Project Next Project » […]
Beautiful work! I hope you don’t mind me asking, what kind of brush did you use for the fur? Thx
Thank you, Debi. You can see my brushes beside another one of my paintings, here: http://intricateart.com/cat-portrait-morris-complete/ 🙂
Sorry, comments are now closed.